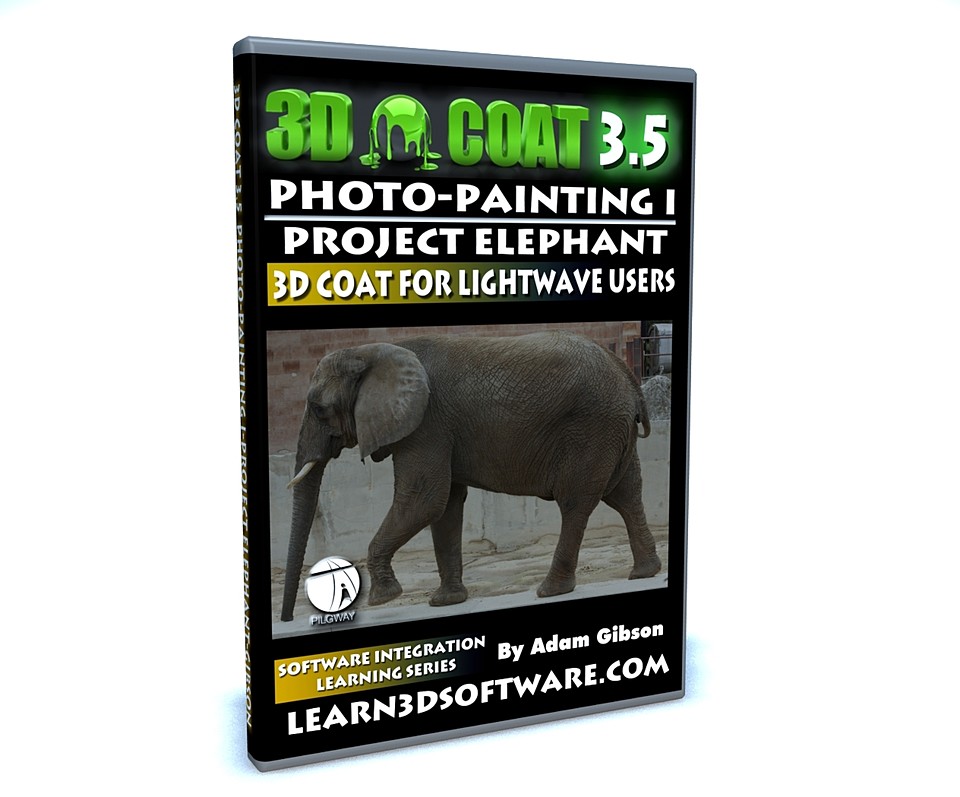
3D Coat 3.5 for Lightwave Users-Photo Painting I
In this videos series we show 3D students how to use 3D Coat and Lightwave 3D together as an easy and functional workflow and pipeline in your 3D projects.
Although this video series uses Lightwave 3D as the final output for your 3D Coat work, the concepts and principles used here will work with all the most popular 3D programs like 3D Max, Maya, Softimage, Modo, Cinema 4D and many others.
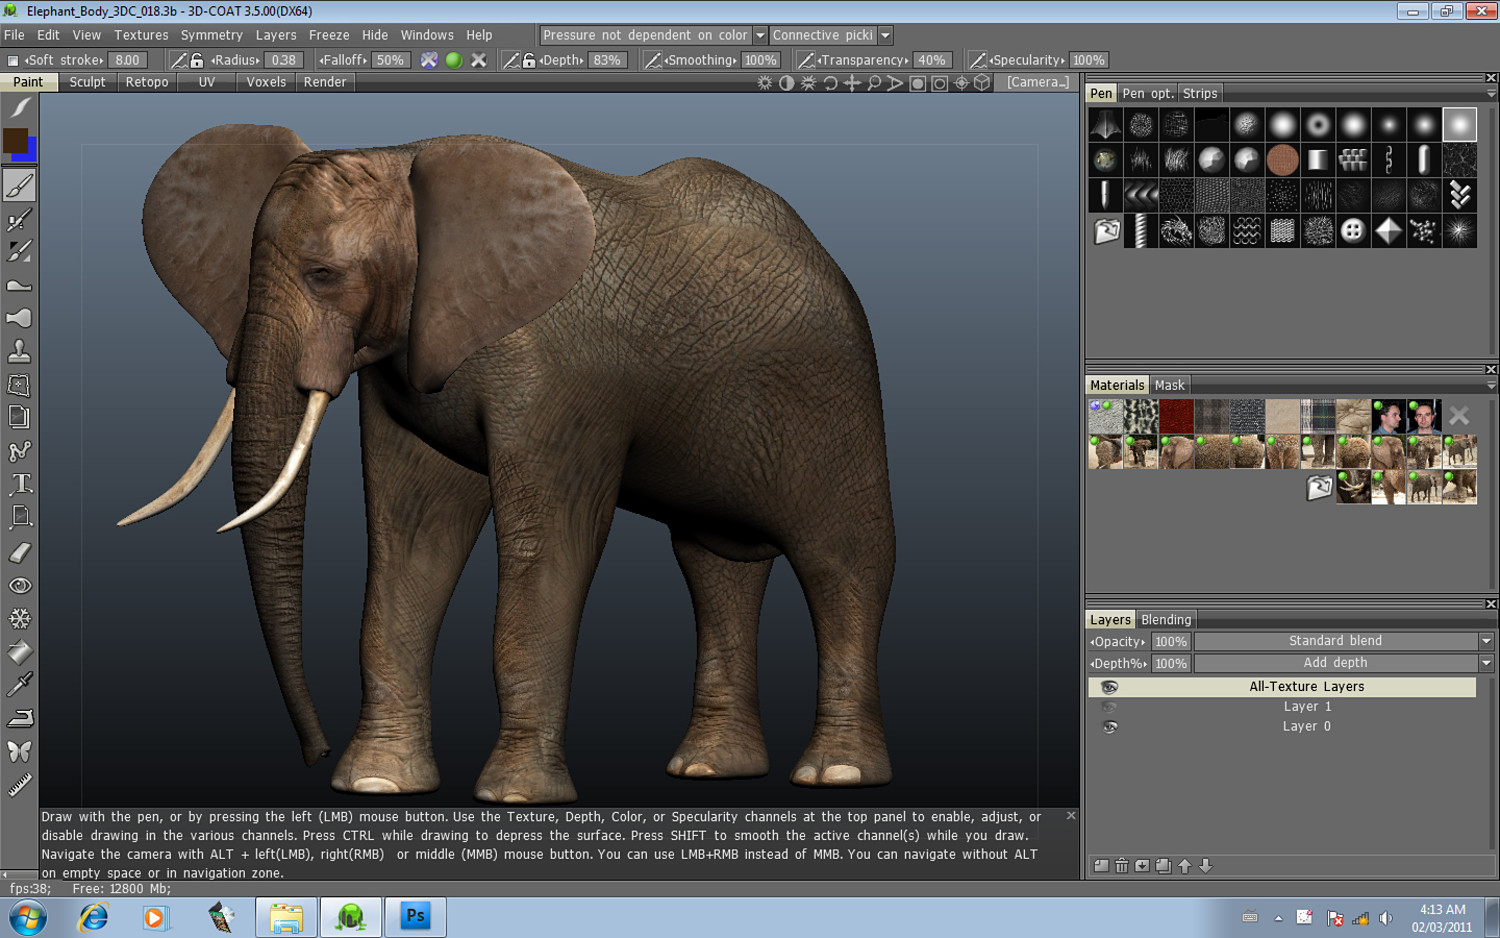
In this tutorial 3D Coat Instructor Adam Gibson demonstrates the powerful photo painting tool-set inside of 3D Coat.
Sometimes in order to create the most photo-realistic and life-like looking characters you need to use real photos of animals/creatures to create the illusion.
Also this can be a huge time saver as trying to paint a texture from scratch can be very tedious, time-consuming, and require great skill.
Learning how to use the photo-painting tool can save hours and hours of texturing work and speed up your work-flow.
So if you are looking for a quick way to texture your creatures and animals this is the training course for you.
Table of Contents for Photo Painting I
Chapter 1- Intro
Chapter 2- Organizing/Prepping Photos for Painting
Chapter 3- Setting Up/Importing the Character Mesh in 3D Coat
Chapter 4- Photo Painting Tool Basics
Chapter 5- Creating a Base Texture (Part One)
Chapter 6- Creating a Base Texture (Part Two)
Chapter 7- Painting the Ears
Chapter 8- Painting the Front of the Head and Trunk
Chapter 9- Painting the Back and Side of the Trunk
Chapter 10- Painting the Side of the Head
Chapter 11- Painting the Bottoms of the Feet
Chapter 12- Painting the Toes of the Front Feet
Chapter 13- Painting the Toes of the Rear Feet
Chapter 14- Painting the Side of the Legs and the Body
Chapter 15- Painting the Side, Top, and Bottom of the Body
Chapter 16- Painting the Inner Legs
Chapter 17- Painting the Back of the Knees and Front of the Legs
Chapter 18- Painting the Tusks
Chapter 19- The Darken Tool
Chapter 20- Merging All the Layers and the Lighten Tool
Chapter 21- Toe Nail Clean Up Work
Chapter 22- Exporting to Lightwave 3D and Test Renders in Layout
Chapter 23- Use Source Positions Export Correction
Chapter 24- Final Test Renders
Level: Beginner
Running Time: 4 hrs 48 mins.
Screen Resolution: 1440 x 900 pixels
Video Format: Quicktime Video
You will get 25 files
All files previously purchased will always be available for download in your Library
- Content_Folder.zip129.03 MB
- 3DC_35_for_LW_Users_Paint...855.01 KB
- 3DC_35_for_LW_Users_Paint...38.44 MB
- 3DC_35_for_LW_Users_Paint...176.89 MB
- 3DC_35_for_LW_Users_Paint...162.17 MB
- 3DC_35_for_LW_Users_Paint...60.21 MB
- 3DC_35_for_LW_Users_Paint...93.39 MB
- 3DC_35_for_LW_Users_Paint...439.09 MB
- 3DC_35_for_LW_Users_Paint...189.34 MB
- 3DC_35_for_LW_Users_Paint...168.16 MB
- 3DC_35_for_LW_Users_Paint...128.56 MB
- 3DC_35_for_LW_Users_Paint...70.03 MB
- 3DC_35_for_LW_Users_Paint...60.22 MB
- 3DC_35_for_LW_Users_Paint...92.37 MB
- 3DC_35_for_LW_Users_Paint...93.58 MB
- 3DC_35_for_LW_Users_Paint...98.83 MB
- 3DC_35_for_LW_Users_Paint...109.33 MB
- 3DC_35_for_LW_Users_Paint...102.44 MB
- 3DC_35_for_LW_Users_Paint...154.88 MB
- 3DC_35_for_LW_Users_Paint...93.85 MB
- 3DC_35_for_LW_Users_Paint...61.38 MB
- 3DC_35_for_LW_Users_Paint...112.86 MB
- 3DC_35_for_LW_Users_Paint...119.28 MB
- 3DC_35_for_LW_Users_Paint...92.35 MB
- 3DC_35_for_LW_Users_Paint...38.06 MB