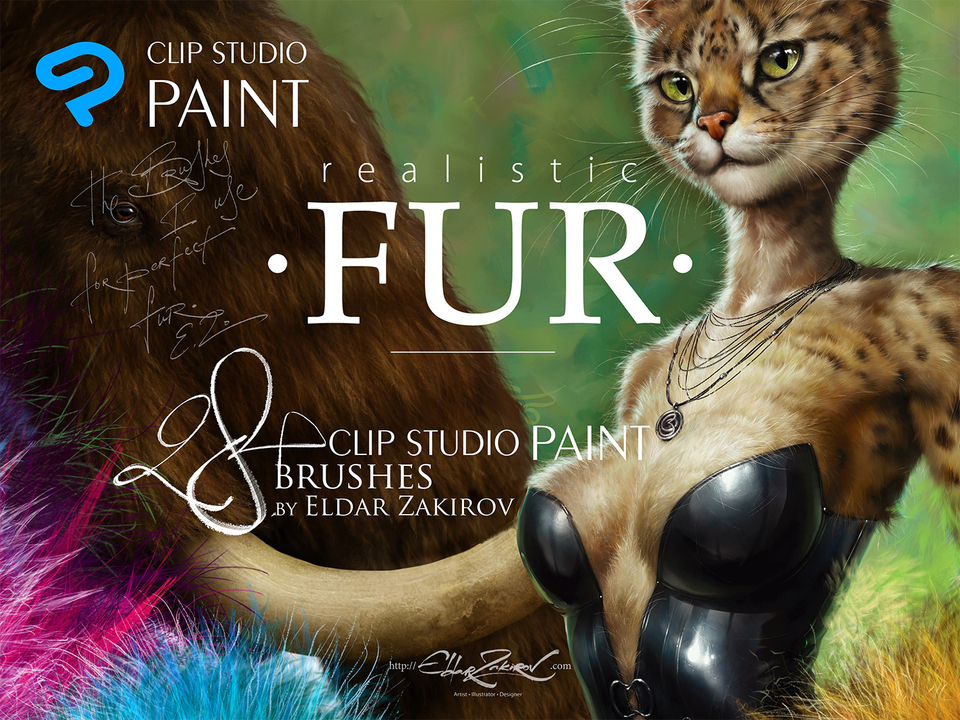


Realistic FUR Brushes for CLIP STUDIO PAINT
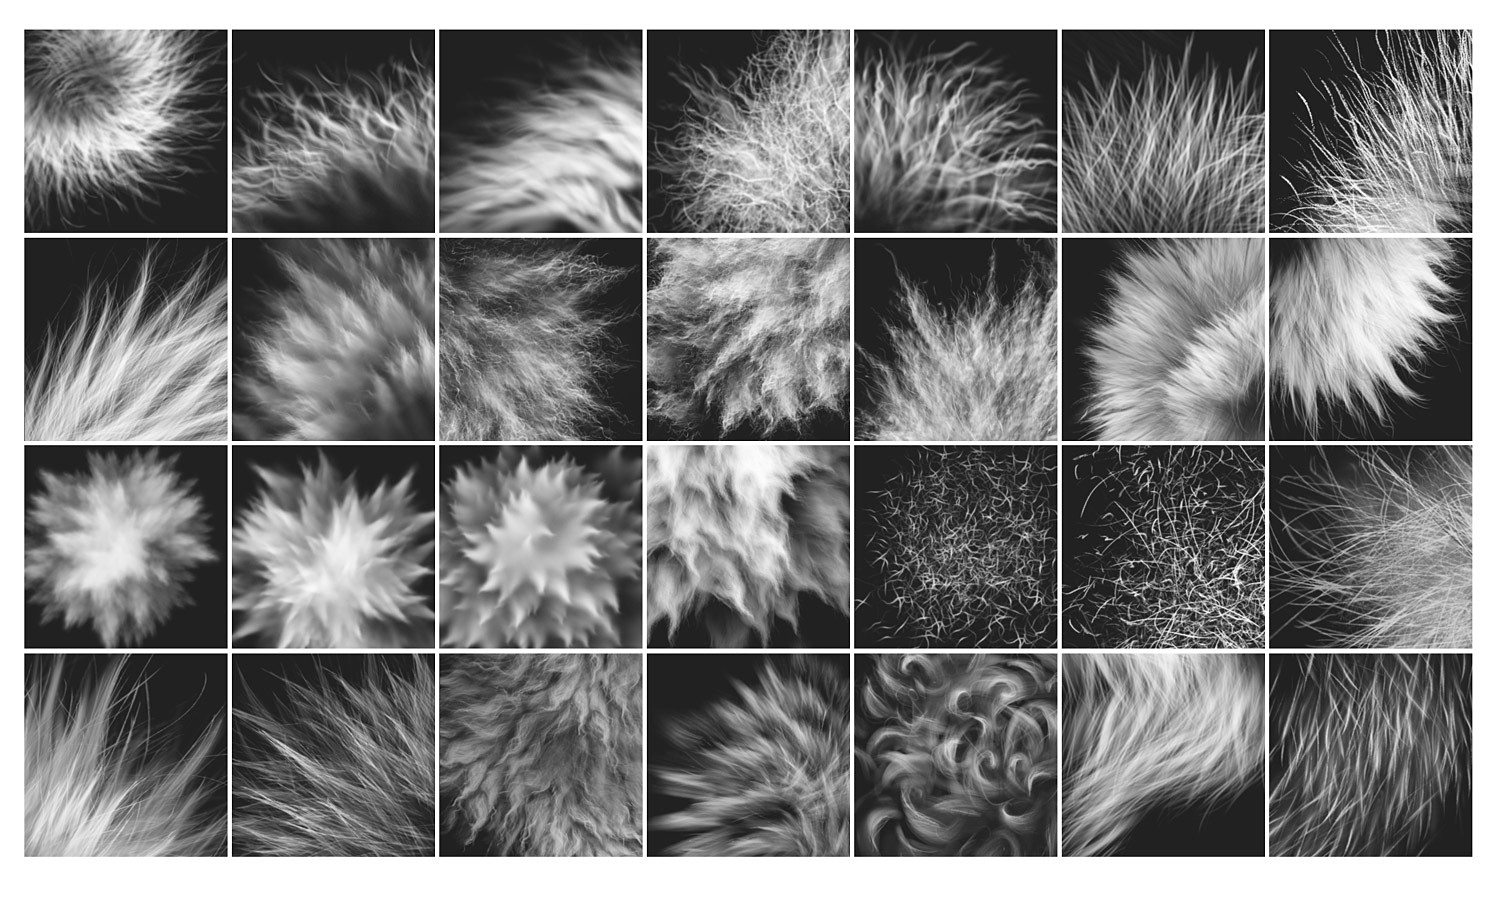
28+ Realistic FUR sub-tools
(brushes with settings)
for CLIP STUDIO PAINT and Manga Studio
Version 3.0 was released on June 15, 2020.
8 brand new brushes were added, the old brushes were improved, and minor bugs were fixed.
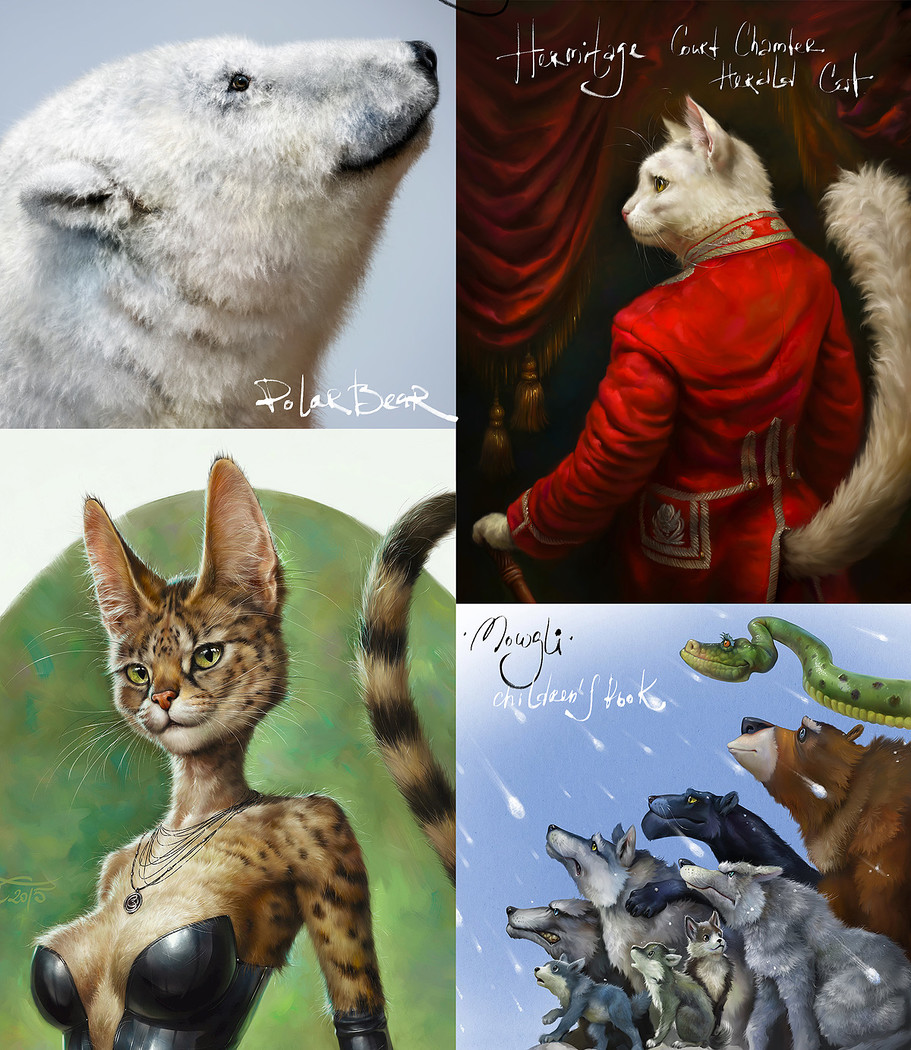
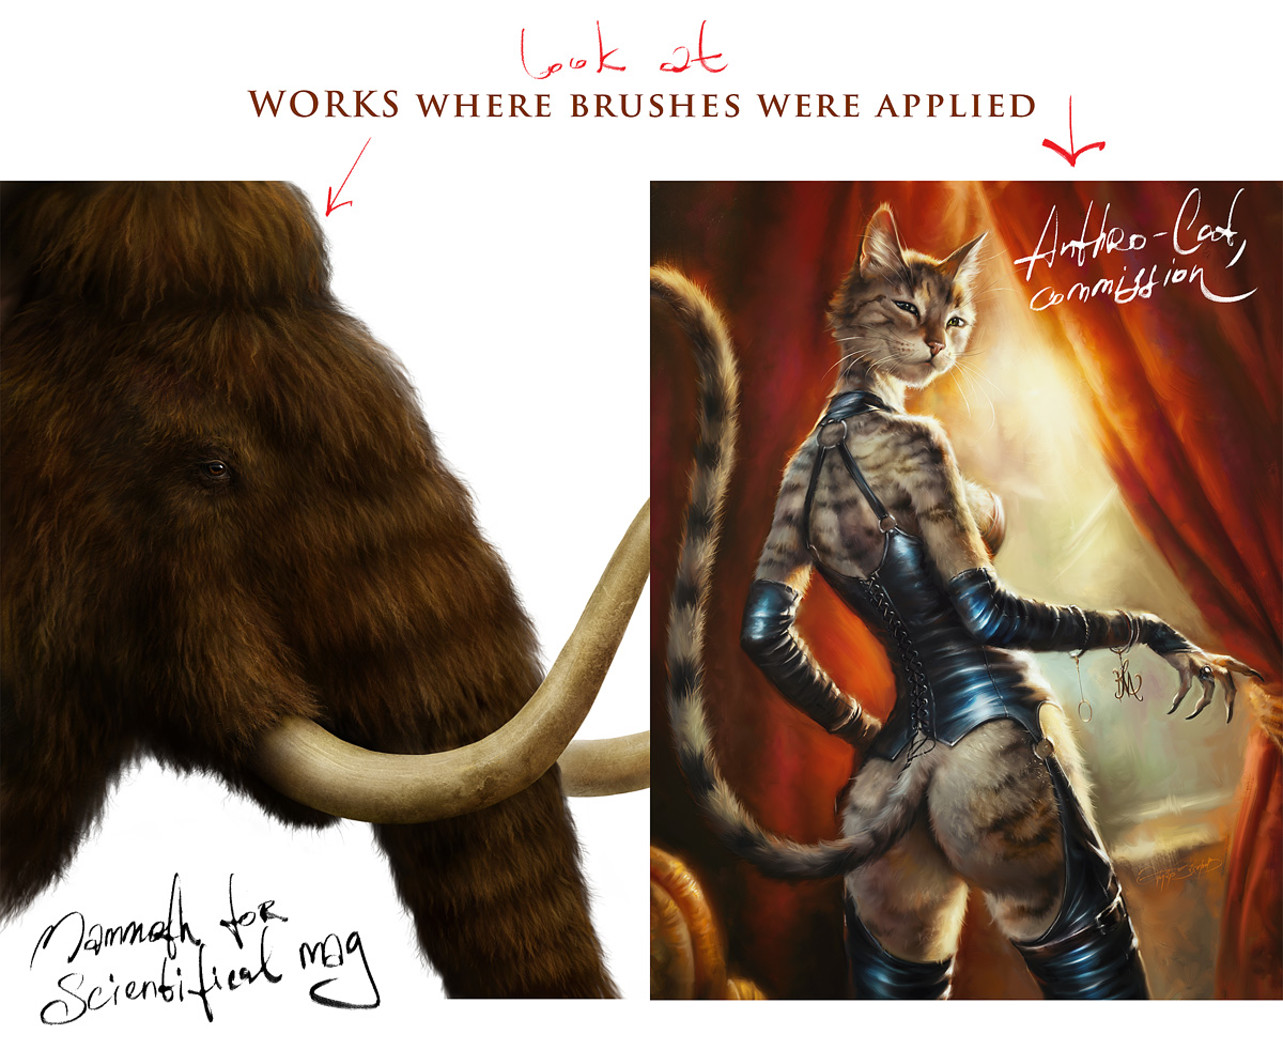
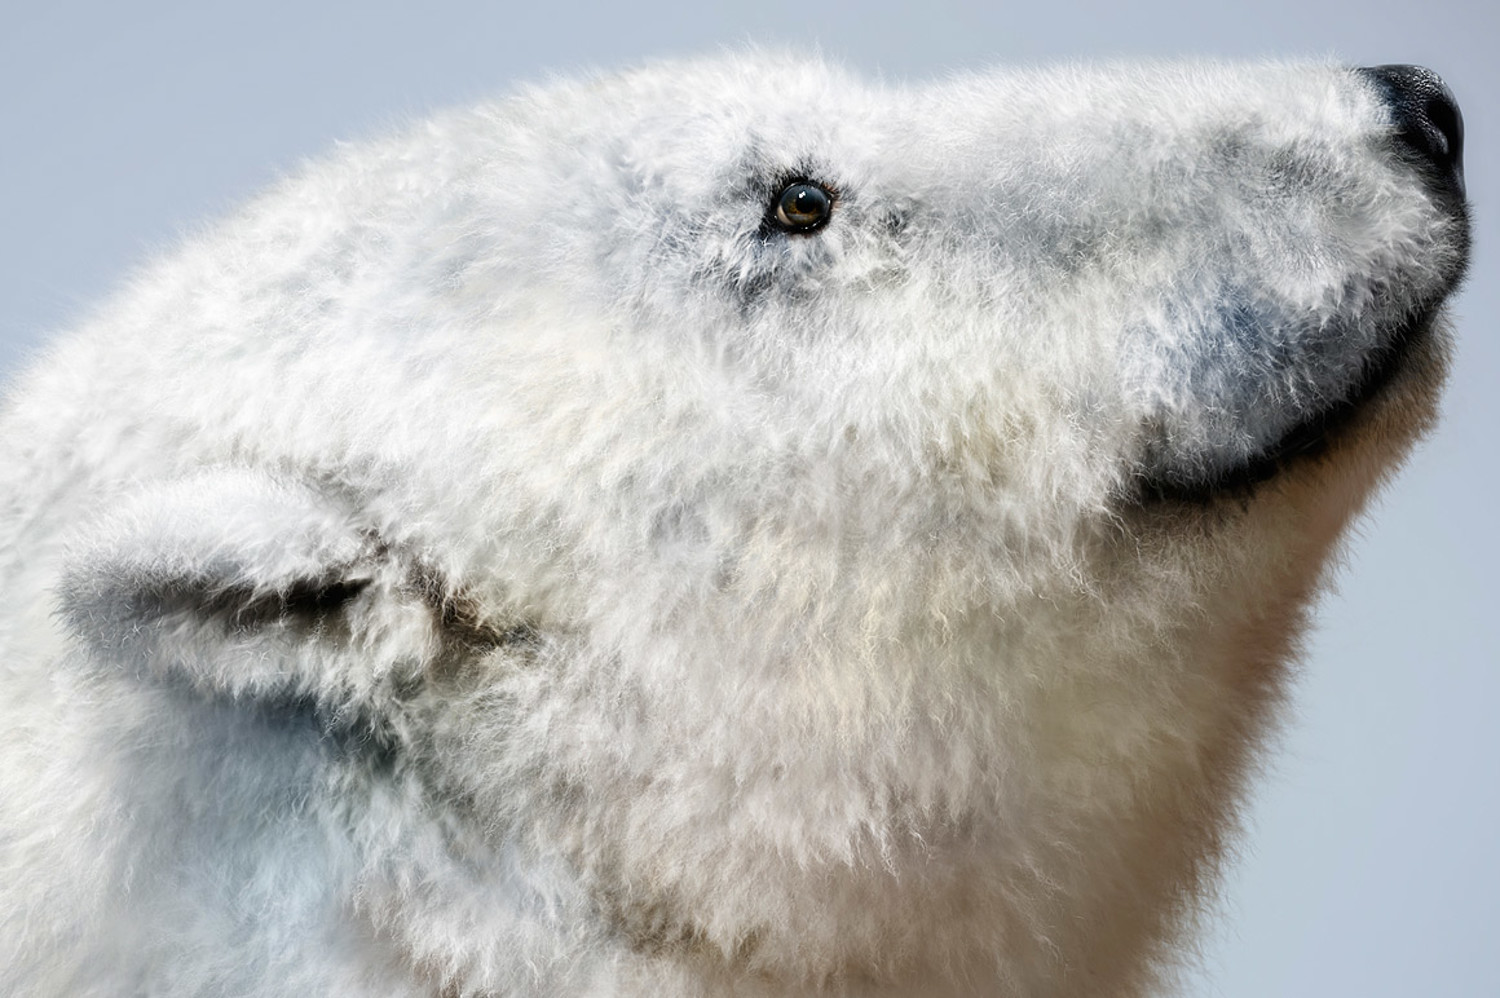
28+ realistic FUR brushes for CLIP STUDIO PAINT, which I created for perfect fur when you're painting fluffy animals, furries, etc. All brushes were made in the 1.6.3 Version of CSP.
The brushes #2,3 and 8 from these 28 brush sub-tools have 2 options for each other, for right and left-directional hair growth. So, in common, the Set contains 31 brush sub-tools.
- "I've worked to learn how to draw realistic fur quite a lot of time. And I can be proud that I've reached this goal. To simplify matters, I created a series of brushes for myself and decided to share them with you. I'm sure, you'll appreciate the assistance that they will bring you to the work!"
Sincerely yours, Eldar *
You'll receive the ZIP archive with:
- 31 SUT files (Clip Studio Paint sub tool files) in a separate directory;
- PDF with tips and instructions on how to install the brushes into your software.
- JPG with all the brushes table. Sometimes, it may be just convenient to have it on hand.
Copyright and Terms:
• Please note: there are versions of this brush set for a number of software products: Photoshop, Clip Studio Paint, Procreate, Affinity Photo / Designer. You’re looking through the CLIP STUDIO PAINT version page. Please be sure that you’re buying the right one. I don't accept returns, exchanges, or cancellations. But please contact me if you have any problems with your order. • This product **can be used in unlimited personal and commercial works. • ! Cannot be resold, shared, or provided to third persons entirely and partially.
Some tips for using the brushes:
- As you know, there are a number of basic shading techniques in painting and drawing, and I like this one as the most appropriate for me — I find it one of the most rational by painting the fur — to start coloring with a neutral, halftone local color, then shade it according to the volume and lighting, then add layers of the fur with colors a bit lighter than underlying shading.
- Start with a general neutral local fur color a tone or two darker, and paint the shape and shading with any brush or brushes more convenient to model such volumes.
- After, as usual, it may be necessary to make some areas deeper (darker) — for example, shaded areas deeply among strands near their roots — or set some light and highlight accents in the lights.
- Try to experiment with layer or brush blending modes, such as Soft Light, Screen, Multiply, etc.
- As in painting or drawing at all, I'd recommend proceeding from common, main shapes to partial ones and details: firstly, specify the main big volume, lights, and darks, then put non-detailed fur strands using matching brushes and then make the detailing with detailed fur brushes.
- In the end, I'd add some of the sharpest strands or hairs, maybe blur or darken some of the underlying strands, and light up some of the most visible, highlighted ones. Try to make some of them softer or sharper, darker or lighter in the finish or work, kind of post-processing. Add some highlights. Use the "Shining Tips" brushes from the set. The separated hair can be drawn by regular textured thin brushes.
- Switch on "Lock sub tool do not save change" (see the picture below) for each brush preset (sub-tool) if you want to reset the brush after changing the settings, etc. I'd recommend turning it on, except for the cases when you adjust the brush for yourself.
- Each brush has a slight Color variability to make the fur more picturesque and realistic. It is linked to the pen pressure: the more pressure the more secondary color (the color from the backward, second square) randomly adds to the main color.
How to install the brush set:
- After downloading the file, unzip it (if this is an archive).
- Start Clip Studio Paint.
- Choose the brush tool you prefer.
- Select all the .sut files and drag & drop them into the list of brushes. The brush presets (sub-tools) will start appearing in the list.
- Enjoy! I'd advise switching on "Lock sub tool do not save change" for each brush of the Set (see the tip and picture above). The basic settings are already made, but you can set your brushes as you wish. In this case, turn this switch off.
- Enjoy and create great work!
You will get 1 file
All files previously purchased will always be available for download in your Library