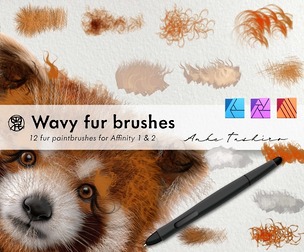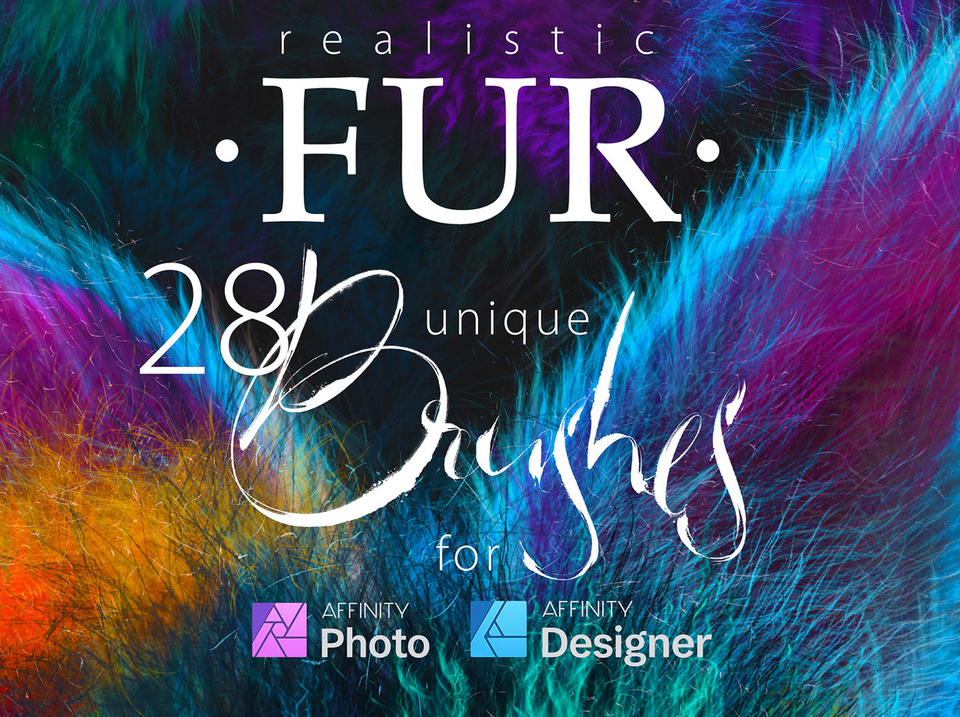


28 Realistic FUR Brushes for Affinity
Realistic FUR
20 brushes remastered* from the 'FUR' brush sets for Photoshop and Clip Studio Paint + **8 new brushes.
Realistic brush presets for painting animals or furries, original characters with fur, and other painted wooly and fluffy creatures.
Also, the brushes depicting fur from the side view (brushes # 2,3* and **8) have two options for the left and right hair growth direction. Therefore, there are actually three more brushes in the set.
• What is this?
For Some years, I've worked a lot to learn how to draw realistic fur for my artworks quickly. And you can see it in my gallery at eldarzakirov.com. To simplify and speed up the process and increase the photorealistic level of my art, I created a series of brushes (initially for Photoshop). And you know what? I'm still satisfied and proud of the results.
Now I adapted them for several software products, including Affinity software, and added 8 absolutely new FUR brushes. All these brushes allow you to create high-quality, realistic fur, and I'm sure, you'll appreciate the assistance they'll bring you in the work!
• Minimal versions where the brushes were tested:
Affinity Photo v. 1.8.2
Affinity Designer v. 1.7.0
• You will receive:
- 1. 28+ FUR brushes saved in the "Realistic FUR by Eldar Zakirov.afbrushes" file;
- 2. Some useful tips and recommendations.pdf — the PDF file containing some tips regarding usage and installation. You can see them below. Just to have them on hand;
- 3. FUR-4-Affinity-Brush-List.jpg. The brush list image you see above (sometimes it's convenient to have it).
• Some useful tips and notes:
• How I'd advise painting furry volumes. As you know, there are a number of basic shading techniques in painting and drawing, and I like this one as the most appropriate for me — I find it one of the most rational by painting the fur — to start coloring with a neutral, halftone local color, then shade it according to the volume and lighting. Usually, this underpainting should be darker than fur, as it would be in the shadow. So, add the layers above to add the fur. All the brushes have a minor color and lightness jitter to make the fur more realistic.
• So, try at first to place basic shading with a simple brush you prefer to paint, usually, hard or soft, and then put the fur strands above, according to the form and lighting.
• After it may be necessary to make some areas deeper (darker) — for example, shade areas deeply among strands near their roots — or set some light and highlight accents in the lights.
• You can also experiment with layer' and brush blending modes, such as Soft Light, Screen, Multiply, etc.
• As in painting or drawing at all, I'd recommend proceeding from common, main shapes to partial ones and details: firstly, specify the main big volume, lights, and darks, then put non-detailed fur strands using matching brushes, and then make the detailing with detailed fur brushes.
• In the end, I'd add some of the sharpest strands or hairs, maybe blur or darken some of the underlying strands, and light up some of the most visible, highlighted ones. Try to make some of them softer or sharper, darker or lighter in the finish or work, a kind of post-processing. Add some highlights. The separated hair can be drawn by regular textured thin brushes.
• The brushes # 2, 3, and 8 have two options for the direction of left and right hair growth.
You will get 3 files
All files previously purchased will always be available for download in your Library