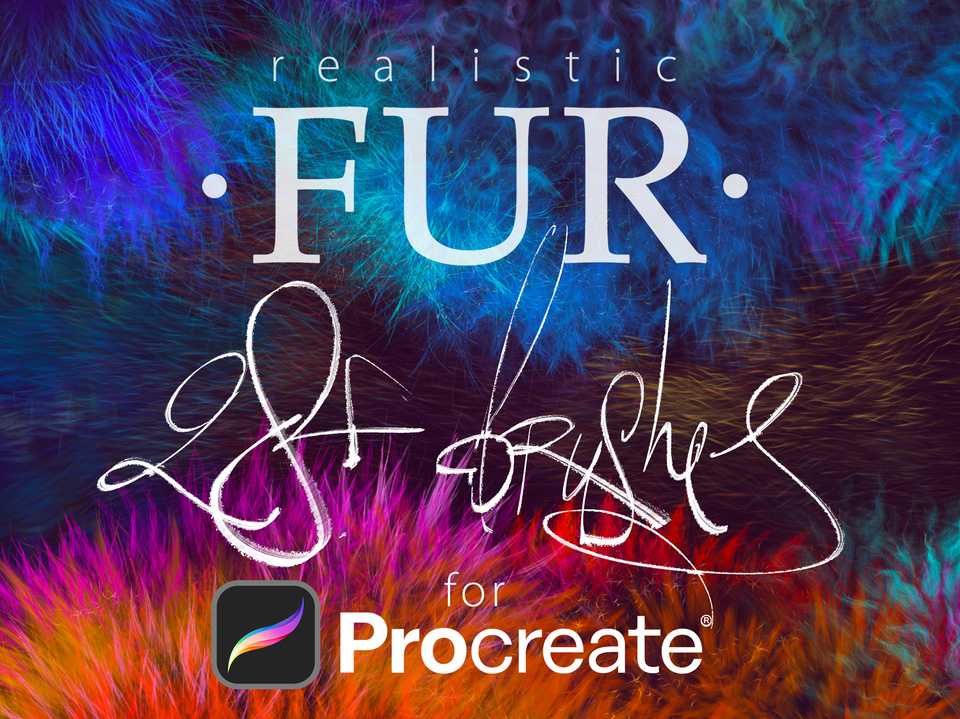


28 Realistic FUR Brushes 4 Procreate
28 Realistic FUR Brushes 4 Procreate
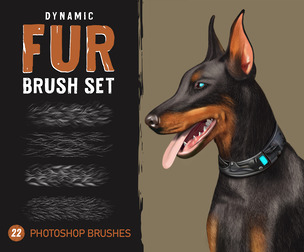
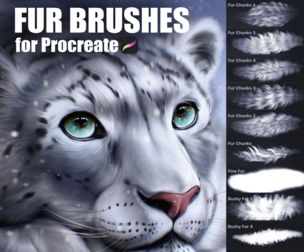
20 brushes remastered from FUR brush sets for Photoshop and Clip Studio Paint + 8 new ones.
• Also, the brushes depicting fur from the side view (brushes #2, 3, and 8) have two options for each one, for left and right hair growth direction. Therefore, there are actually three more brushes in the set.
• You receive in the ZIP archive (40.7 Mb):
• FUR•by_EldarZakirov.brushset — the file containing the FUR brushes for Procreate; • Realistic FUR for Procreate — some tips and notes.pdf — the PDF file containing some tips you see below to have them on hand;
• Some useful tips and notes:
• How I'd advise painting furry volumes. As you know, there are a number of basic shading techniques in painting and drawing, and I like this one as the most appropriate for me — I find it one of the most rational by painting the fur — to start coloring with a neutral, halftone local color, then shade it according to the volume and lighting, then add layers of the fur with colors a bit lighter than underlying shading.
• You can try at first to place basic shading with a simple brush, hard or soft (as you can see in the video with demonstration), and then put the fur strands above, according to the form and lighting.
• After, as usual, it's necessary to make some areas deeper (darker) — for example, shaded areas deep among strands near their roots — or set some light and highlight accents in the lights.
• You can also experiment with layer' and brush blending modes, such as Soft Light, Screen, Multiply, etc.
• As in painting or drawing at all, I'd recommend proceeding from common, main shapes to partial ones and details: firstly, specify the main big volume, lights, and darks, then put non-detailed fur strands using matching brushes, and then make the detailing with detailed fur brushes.
• In the end, I'd add some of the sharpest strands or hairs, maybe blur or darken some of the underlying strands, and light up some of the most visible, highlighted ones. Try to make some of them softer or sharper, darker or lighter in the finish or work, a kind of post-processing. Add some highlights.
• As said before, brushes #2, 3, and 8 have two options for left and right hair growth direction.
• Some of the brushes have minor randomized color variations of each stamp. This was intended to give minor color variations to each brush 'stamp', to make each tuft look as different and picturesquely as possible.
But sometimes, this variability may not be necessary, as in your case, as I understand. In this case, you can decrease Hue and Saturation jitters in the Color Dynamics tab of Brushes settings.
Here's the shot of these settings (image from the Procreate official website)
In particular, I mean the "Color pressure" field and 'Hue' attributes.
• How to install the brushes:
• Just go to the brushes and push the "+" sign at the top, right to the "Brush Library" title (or choose absolutely any of the installed brushes), then choose 'Import' at the top of the Brush Studio window. • Then specify the file with the downloaded brush set (FUR•by_EldarZakirov.brushset). • Voila! The folder with the set will appear at the top of the brush category list. • Read more at Procreate website page >>>
You will get 2 files
All files previously purchased will always be available for download in your Library
