Japan Behemoth Defender
Oleh Melnyk is a freelance artist working in the video game industry. His art journey is greatly inspired by video games, anime, modern and classical artists.
Here he takes us through his step-by-step process of “Japan Behemoth Defender”.
Stage 1: Idea
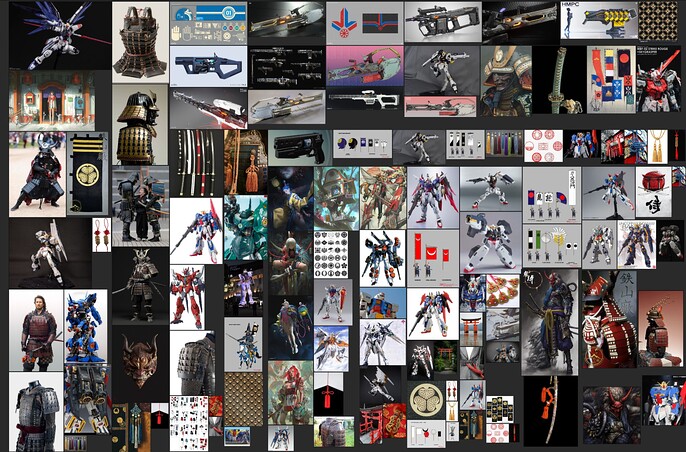
Picking Japan as a country I would like to represent in an Art War was a no-brainer for me, due to my true fascination with Japan’s traditional culture, fantasy, and modern art. That is why I decided to combine iconic giant mecha, similar to something from the Gundam series with Samurai aesthetics and traditional materials. Here are some references I used for this:
Stage 2: Character Concept
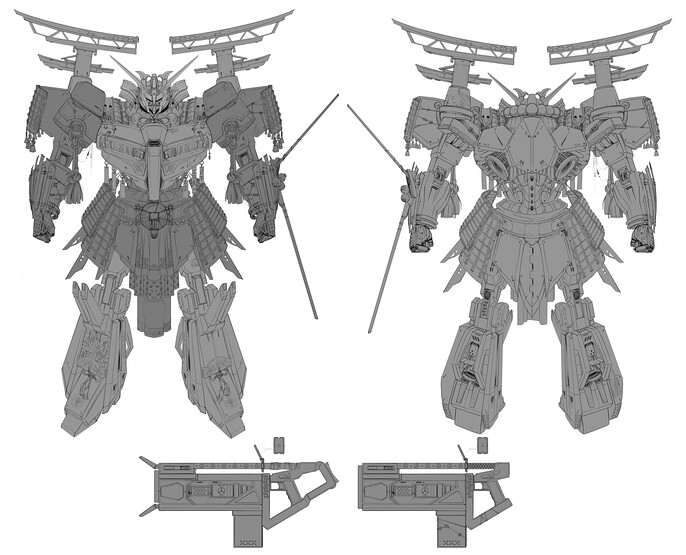
After some researching and sketching, I came up with such rough linework:

Being happy with this design direction, I proceeded to finalize the concept for the character front and back and his weapon. Main note here - I extensively used symmetry painting in Photoshop to shorten the time for production significantly.
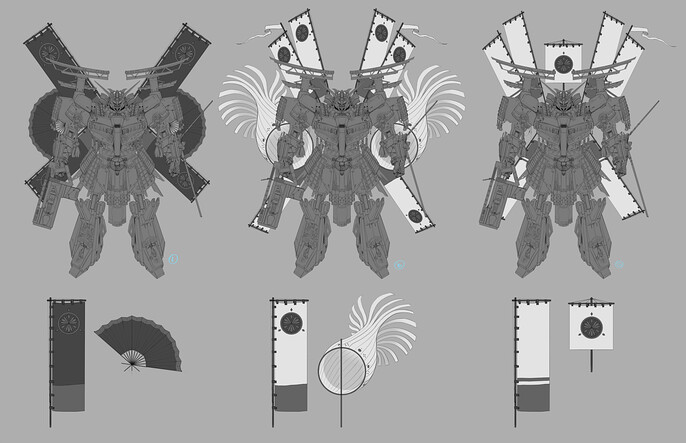
After some iterations I decided to add some wings to the character in form of traditional Samurai flags:
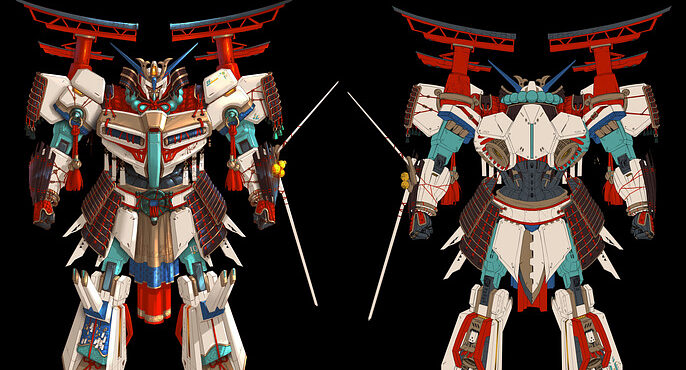
After that I started to colorize the concept, nothing special, some flat colors, simple gradients, and subtle highlights:


Stage 3: Illustration
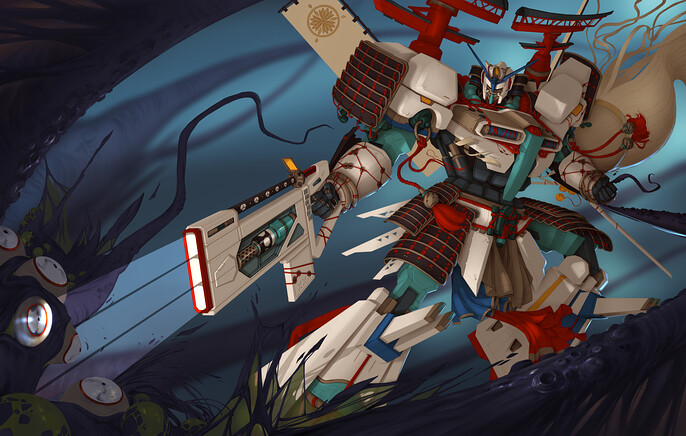
I definitely wanted to show the character in all his glory fighting with some ancient underwater creature. Tried to make the composition quite dynamic as well.
Usually, I begin with a rough black and white concept for the illustration, this way it is easier to iterate and to check the values and composition overall:

At this stage, the biggest challenge for me was to try to depict a mostly hard surface character in a traditional painterly manner, without using any 3D base and photo manipulation.
The next step for me is to carefully lay down the flat colors. This will serve as a base and selection layer for future rendering:

Next, I create ambient occlusion and shadows for the character and some rendering on the monster and background due to it being soft surface and easier to render:
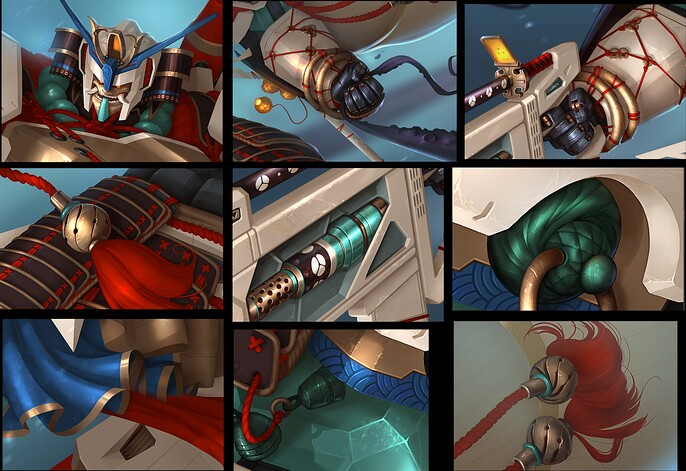
Now, this is a great base for the render phase. I usually do not use any layer or brush effects, texture brushes etc - just a single brush and carefully detailed rendering. Only at the final stages I use some color dodge brush to make highlight accents and subtle texture brush to create marble texture, some cracks, and rust. Here are some closeups of the rendering process:
Thanks a lot to the Cuberush team, community, and all the participants in this great competition. Really hope this small guide could bring something new and will help someone to improve.
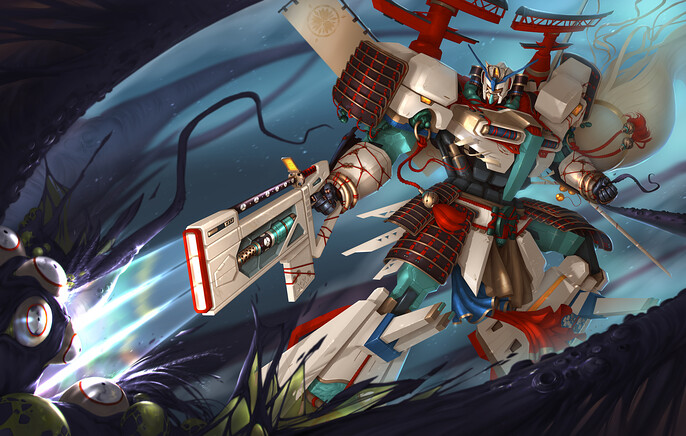
And, after countless hours, here is a final version for the illustration:
See more of Oleh's work here.